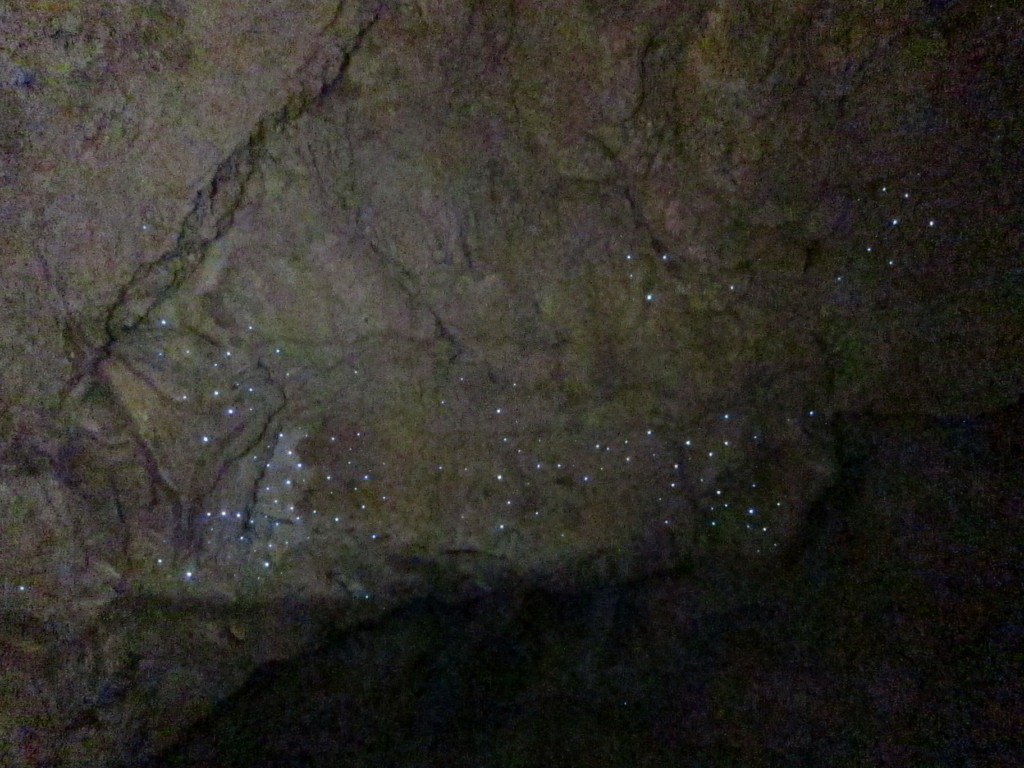
Abbey Caves: Sneaky Tips on Photographing Glow Worms
The man at the front of the boat points towards what looks like a starlit sky, one in which no known constellations can be discerned. The people sat in the boat follow his finger. They strain their necks, gazing in wonder at the sight above them. Despite the brightly lit visitors below, thousands of bright blue specks barely illuminate the outline of a rock ceiling. Nonetheless, it is a beautiful sight.
This is the sort of image that features prominently in any guide or brochure promoting New Zealand‘s famous glow worm-filled caves. It has been successful in tempting visitors to fork out NZD45 or more for a tour. Those same photographs are a problem though; their existence doesn’t mean that you can get the same kind of photos with your camera – if the guide permits it in the first place.
However, if one is reasonably fit and prepared to get wet, you can get set some good (if boat-less) photographs of the glow worms at the Abbey Caves in Whangarei, a 2.5-hour drive from Auckland. Unlike Waitomo, there won’t be any crowds to deal with too, and it will probably stay that way for some time.
Capturing the glow worms of Abbey Caves, Whangarei
What’s the deal with glow worms anyway?
Glow worms are the larvae of a fungus gnat. A chemical reaction in their abdomens creates a blue-green glow that attracts flies, mosquitoes and even adult gnats. These eventually get caught in the sticky threads that the larvae suspend from the ceilings of caves and the undersides of leaves.
The darkness makes it impossible to see anything apart from the glow worms’ luminescent bits. With a name that recalls gummy candy, it’s easy to forget that the critters are actually insects. There are thousands of insects above you in the caves, and any of them could drop onto your face…
Why Abbey Caves?
When the only light in the caves from the glow worms, a long exposure time is necessary. That precludes any of the boat rides through caves in Waitomo or Te Anau, or walks in the bush near the glaciers. Besides, the tour operators will not let you take photographs. It makes sense, but more on that later.
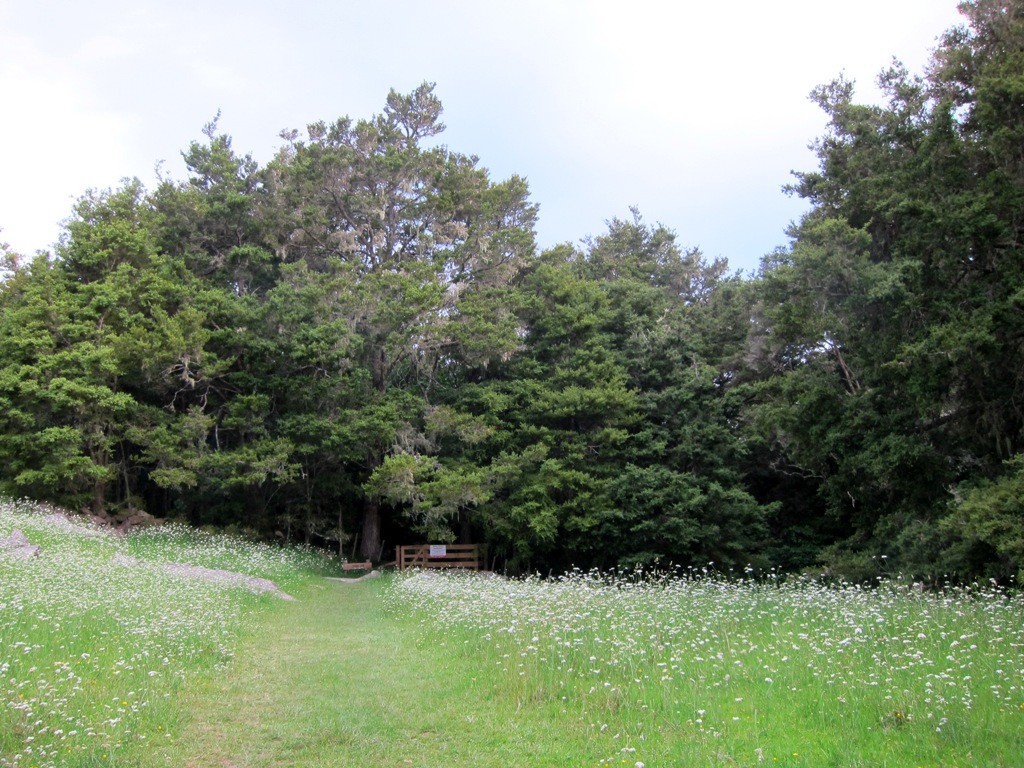
The Abbey Caves have been left undeveloped, so there are neither operators nor boats at the Abbey Caves to tell you to put your camera away. Unfortunately, there is no public transport or tour service there either. One could try hitching a ride from the junction of Waiatawa Road and Whareora Road though.
Since I was staying at the nearby Little Earth Lodge (I paid for my own stay and I would recommend it if you can live with the relative remoteness and lack of mobile coverage), I decided to check out the Organ Cave, the largest of the three in the Abbey Caves area.
*N.B. Little Earth Lodge is closed.
Some precautions
- Don’t go into the caves during or after the rain. Streams run through them and they may flood.
- Try not to go alone, but if you do, let someone responsible know.
- Bring a spare, fully-charged light. Your life may depend on it.
- Keep the helmet on all the time.
Tackling the caves
Waterproof yourself and your camera. I mentioned streams, didn’t I? There will be some wading through these.
Rent a helmet and a head-mounted light from Little Earth Lodge. These essentials are available to public visitors too. They also rent caving shoes, but I had reef booties which gave good grip. I never shared them with anyone else too.
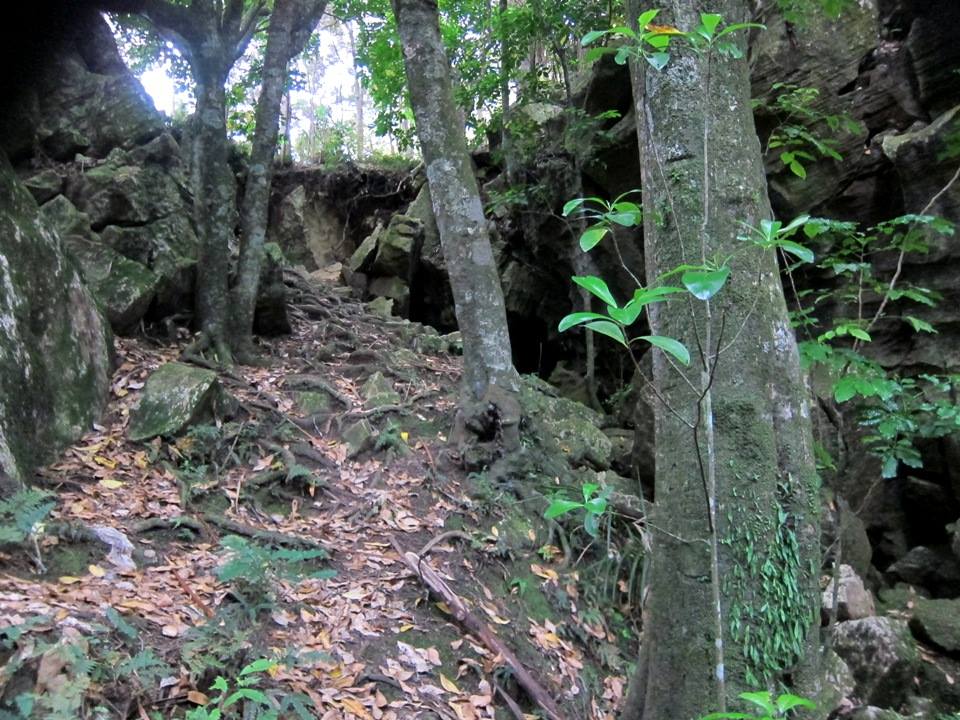
Don’t try to be a hero. See the photo below? It’s the entrance to the Organ Cave. It’s big but one needs to be agile to climb the rocks and roots. Go back to the Lodge if you thought you could get away with wearing jandals.
Inside the caves
Don’t be a muppet – turn the camera flash off! It startles the insects and causes them to stop emitting light. It also affects your night vision and, overall, your appreciation of the phenomenon.
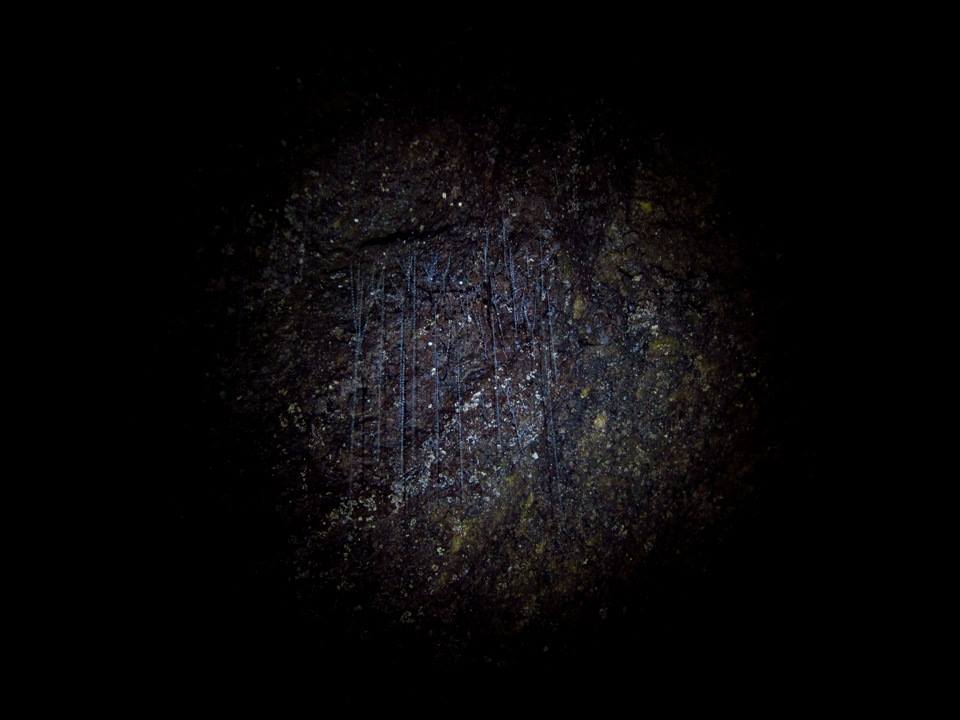
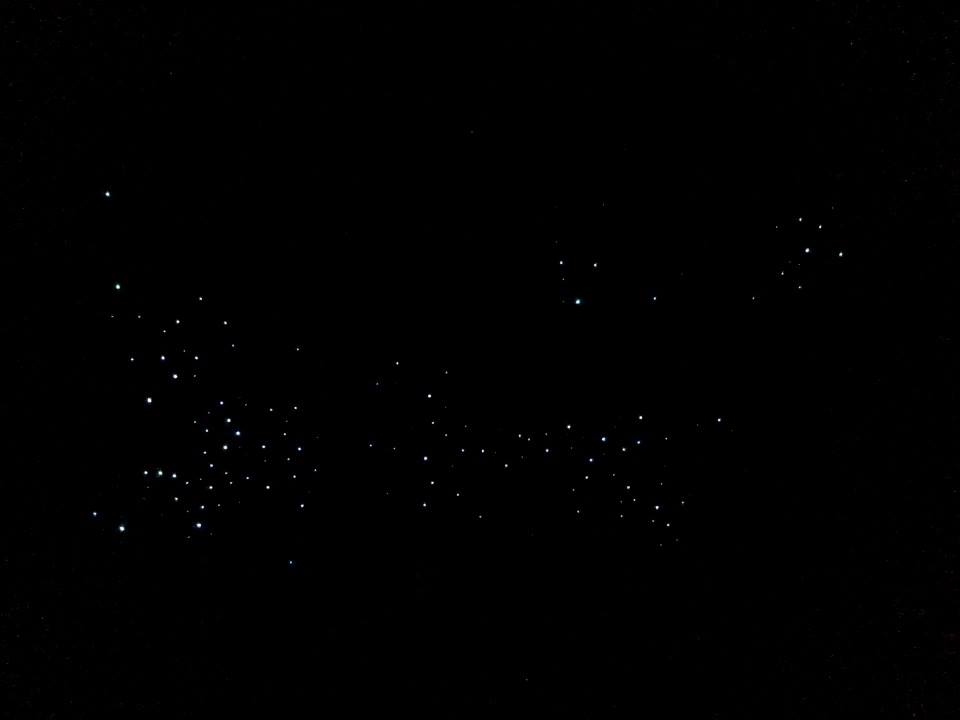
Admire the sight of hundreds and thousands of glow worms on the walls and the ceiling. They don’t twinkle but they grow brighter when they are hungry.
Rest the camera on a rock (or attach it to a Gorilla grip) to keep it steady. Use a long exposure time, at least 15 seconds is good. When you check the result, keep the screen facing down, so that the light does not frighten the worms.
A tip for illuminating the rocks
The Abbey Caves have some cool limestone formations, and it is possible to snap them without frightening the glow worms. You can even capture their lights at the same time.
Simply turn your phone or spare light on and point it downwards while the photograph is being taken.
Enough light should be reflected off the water and the rocks into the camera. Cover the extra light to get the result you want if you need a dimmer photograph.
And there we have it – bio-luminescent glow worms and gorgeous rock surfaces in the same photograph, no crowds or motion blur, and a caving adventure in the Whangarei countryside, all for less than NZD15!
To find out more about the caves and the place I stayed at, visit the Little Earth Lodge page. This is not an affiliated link.
What else is there to do in Whangarei? Dive the Poor Knights Islands, of course!
